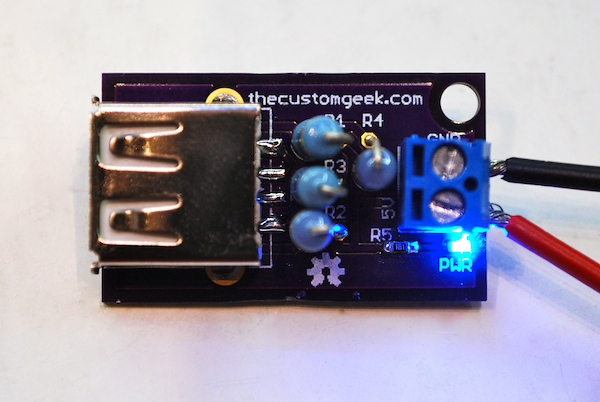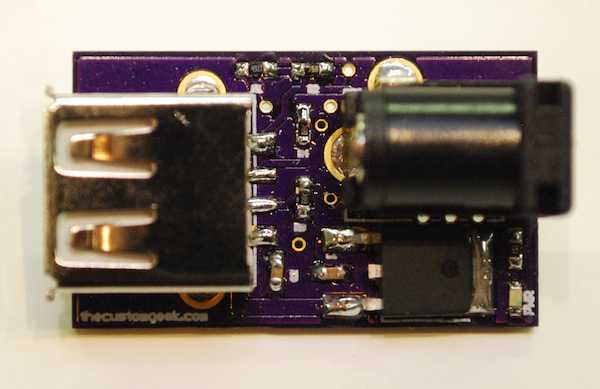
I had a post a while back on charging an iDevice (iPhone, iPad, iPod) and talked about and showed a schematic for the charging circuit. This design is based (and the schematic is almost exact!) off of Ladyada’s Reverse engineering Apple’s secret charging methods. (video link, it’s good, you should watch it!) I give her full credit for the circuit. Now, the boards I whipped up in a few hours, and had it made from DorkbotPDX service. I sent off the files and 2 weeks later, I got three perfect purple PCB’s. The boards cost a total of $4.69. Shipped. You can’t beat that with a stick! Now, I have a nice little iDevice charger that accepts standard 5 volt power from any standard power supply. Although I do tend to favor 5V 2A supplies from Adafruit.
I used the same circuit I had in the old post, just added an LED and resistor for a power indicator. I had an old cell phone from 2006, and saved the keypad because it lit up blue. (Can you blame me?) Now, 6 years later those tiny 603 blue LED’s come in handy. I got the 603 resistor from an old PC motherboard. Motherboards have a slew of SMD things on them. So I fired up the hot air rework station, grabbed my tweezers, and voila! SMD parts! (I did order some reels of 603 resistors and LED for use in future kits, sorry peeps, no old motherboard parts for you!) I use a good pair of tweezers, and a viewfinder from an old camcorder to inspect my work. “But Jeremy? Where do you keep all of those SMD parts?” you ask? Good question, I use these awesome Modular Snap SMD component storage boxes from Adafruit. They have spring loaded tops, and they are modular, you can form them in any configuration you want! How cool is that?!
Continue reading →


